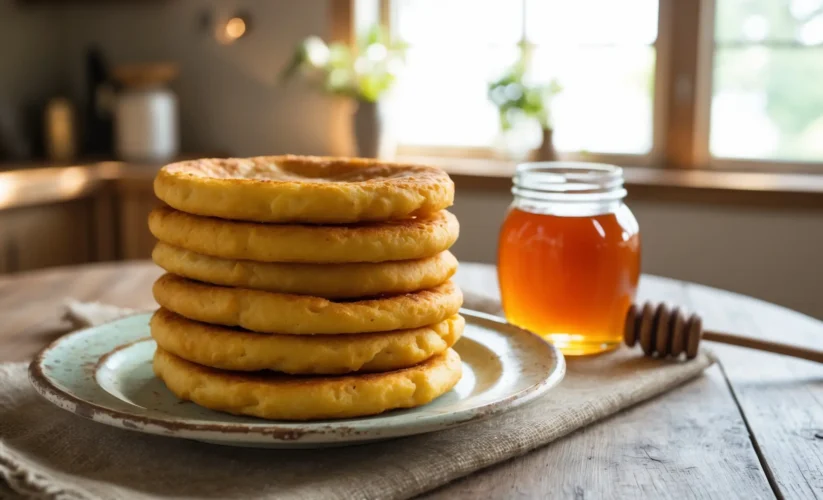
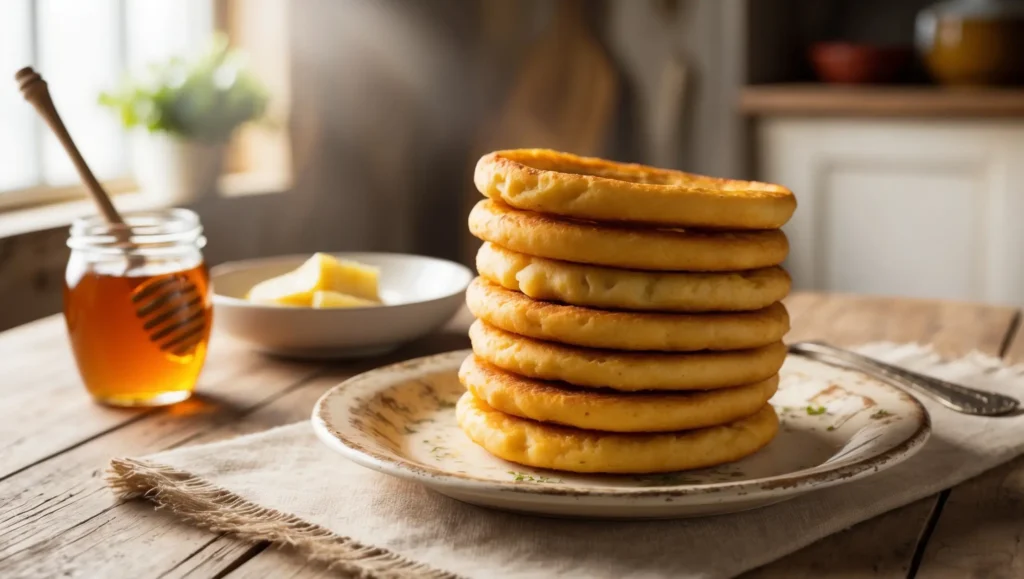
Traditional Fry Bread Recipe: Crispy, Golden Perfection

A quiet morning in your kitchen, where simple ingredients transform into something extraordinary. Our fry bread recipe isn’t just another cooking guide it’s your gateway to creating those unforgettable moments when family gathers around freshly cooked, golden discs of pure comfort.
Growing up in my grandmother’s bustling kitchen, watching her skillfully craft batch after batch of fry bread taught me that precision meets soul in every step. Today, I’m sharing insights gathered from years of perfecting this cherished dish, blending time-honored wisdom with modern kitchen science.
Essential Kitchen Companions
Success begins with proper preparation. Gather these tools before embarking on your fry bread journey:
- A heavy-bottom cooking vessel (6-inch depth minimum)
- Digital thermometer for precise oil monitoring
- Kitchen scale for consistent portions
- Wire basket or slotted spoon
- Absorbent kitchen linens
- Large mixing vessel
- Smooth work surface
- Measuring implements
Your Shopping List For Fry Bread Recipe
Core Ingredients
- Stone-ground all-purpose flour – 3 cups (plus bench dusting amount)
- Premium baking powder – 1 tablespoon
- Pure sea salt – 1 teaspoon
- Spring water (110°F) – 1 cup
- Fresh whole milk – 1/4 cup
- Cultured butter (melted) – 2 tablespoons
- High-smoke-point oil for cooking – 2 cups minimum
Selecting Your Ingredients: A Baker’s Guide
Understanding Flour Selection
Contemporary baking success hinges on protein content. Source flour containing 10-12% protein for ideal structure. While mass-market options work, artisanal flour elevates results through consistent milling practices.
Leavening Logic
Fresh leavening agents revolutionize texture. Validate your baking powder’s vitality through the bubble test: a pinch in warm water should dance vigorously. Quality matters premium brands yield superior lift.
Oil Wisdom
Select neutral-flavored oils boasting high smoke points. Safflower, grapeseed, or clarified butter offer excellent results. Begin with fresh oil, as aged variants compromise flavor profiles.
Ready to create irresistibly puffy, golden fry bread in your own kitchen? This family-tested recipe turns basic ingredients into the most comforting bread you’ll ever make!
Traditional Fry Bread Recipe

Ingredients
3 cups stone-ground all-purpose flour (360g)
1 tablespoon aluminum-free baking powder (14g)
1 teaspoon fine sea salt (6g)
1 cup spring water at 110°F (240ml)
1/4 cup whole milk, room temperature (60ml)
2 tablespoons melted cultured butter (28g) – optional for richness
2-3 cups high-smoke-point oil for frying (sunflower, canola, or vegetable)
How to Make Traditional Fry Bread: Step-by-Step Guide
- – Essential Ingredients for Perfect Fry Bread :
start by whisking together our flour, baking powder, and salt in your favorite mixing bowl. I love how the ingredients come together into this soft, powdery cloud. Take your time here a thorough mix means every bite will be perfect later. I usually give it a good whisk for about 30 seconds, making sure there aren’t any pesky baking powder clumps hiding in there.
- – How to Mix Fry Bread Dough: Wet Ingredients :
Now comes the fun part! Create a cozy little well in the center of your flour mixture think of it like making a small crater in a flour mountain. Your warm water should feel like a pleasant bath temperature (that’s our perfect 110°F). Pour it gently into the well, along with your room temperature milk. Watch how the liquid pools in the center – it’s quite mesmerizing! This is where patience pays off – don’t rush to mix everything yet.
- – Making Fry Bread Dough: Expert Tips :
Here’s where we get our hands dirty (in the best way possible)! Start at the edges of your well, gradually pulling the flour into your liquid center. You’ll see it transform from a shaggy mess into something truly special. Don’t worry if it looks a bit rough at first that’s exactly how it should be. Keep working it gently until you’ve got a soft, slightly tacky dough that holds together. It’s ready when it feels alive under your hands – not too sticky, not too dry.
- – Fry Bread Dough Rest Time: Key Steps :
This is our dough’s beauty rest and trust me, it’s worth the wait! Place your lovingly worked dough back in the same bowl where the magic started. Cover it with your clean kitchen towel. I always use my favorite soft one. Let it rest for 30 minutes while you take a breather too. This rest time isn’t just for show – amazing things are happening as the gluten relaxes and the leavening agents work their magic.
- – Shaping Traditional Fry Bread :
With rested dough, we’re ready for the fun part! Divide your dough into eight pieces – I like to think of them as little pillows of possibility. Gently shape each one into a ball, then press them out into discs about 1/4-inch thick. Here’s my grandmother’s secret – press your thumb gently in the center of each disc, creating a small depression. This helps the bread cook evenly and creates that characteristic shape we’re looking for.
- – How to Fry Bread: Temperature Guide :
Here’s where your kitchen fills with that irresistible aroma! Heat your oil to 350°F – I always use my thermometer because temperature really matters here. Carefully slide your first disc into the oil and watch the magic happen. It’ll start puffing up proudly, developing those beautiful golden spots and that signature pillowy texture. About 60-90 seconds per side is all it takes you’re looking for an uneven golden brown color with some lighter spots, just like generations of cooks before us have created.
Mastering Common Challenges
Texture Troubles
- Excess moisture: Incorporate flour gradually while maintaining dough softness
- Dense results: Verify leavening freshness and avoid aggressive kneading
- Uneven cooking: Maintain consistent oil temperature and thickness
Temperature Mastery
- Oil too cool: Results in grease absorption
- Oil too hot: Creates exterior darkness before interior completion
- Sweet spot: 350°F delivers golden exterior and fluffy interior
Creative Inspiration
Morning Glory
Elevate breakfast with:
- Whipped honeycomb butter
- Fresh berry medley
- Maple-cinnamon dust
- Cultured cream dollops
Savory Adventures
Transform into hearty meals featuring:
- Braised heritage meats
- Garden-fresh vegetables
- Aged cheese selections
- House-made sauces
Contemporary Twists
Modern interpretations include:
- Seasonal vegetable medleys
- Artisanal spreads
- Global-inspired toppings
- Sweet-savory combinations
Preservation Guidelines
Short-Term Storage
Maintain freshness:
- Room temperature: 48-hour window
- Refrigerated: 5-day maximum
- Layer separation: Use parchment barriers
Revival Methods
- Oven Technique (Preferred)
- Preheat vessel to 350°F
- Wrap in foil
- Warm 5-7 minutes
- Final crisping: 2-3 minutes uncovered
- Stovetop Approach
- Dry skillet
- Brief warming
- 30 seconds per surface
Expert Tips for Perfect Results
Temperature Control
- Use a deep-fry thermometer consistently
- Adjust heat between batches
- Allow oil to recover between frying
- Monitor ambient kitchen temperature
Texture Mastery
- Watch for bubble patterns during frying
- Listen for sizzle intensity changes
- Feel for dough springiness before frying
- Observe surface texture development
Workflow Optimization
- Prepare station before starting
- Arrange tools in sequence of use
- Maintain clean workstation
- Plan topping preparation timing
Health and Nutrition Insights
Nutritional Breakdown (per piece)
- Calories: 185
- Total Fat: 7.5g
- Saturated Fat: 1.2g
- Unsaturated Fat: 6.3g
- Carbohydrates: 26g
- Dietary Fiber: 1.2g
- Sugars: 0.5g
- Protein: 4.2g
- Sodium: 285mg
- Iron: 1.8mg
Dietary Considerations
- Vegetarian-friendly
- Dairy-free option: Replace milk with water
- Gluten-free adaptation: Use 1:1 gluten-free flour blend
- Lower-fat version: Air fryer method available
Portion Guidance
- Standard serving: 1 piece
- Meal planning: 2 pieces with toppings
- Event serving: Calculate 1.5 pieces per person
Seasonal Adaptations
Summer Considerations
High humidity affects flour hydration. Reduce liquid by 1-2 tablespoons during humid months. Keep ingredients cool to prevent over-activation of leavening agents.
Winter Adjustments
Cold kitchens require longer rest periods. Increase resting time by 10-15 minutes. Consider using slightly warmer water (115°F) to compensate for cooler ambient temperatures.
Altitude Modifications
- Below 3,000 feet: Standard recipe
- 3,000-6,000 feet: Reduce baking powder by 1/4 teaspoon
- Above 6,000 feet: Decrease liquid by 1 tablespoon, increase oil temperature by 25°F
Kitchen Wisdom
Q: Advanced preparation possible?
A: Prepare dough within 24 hours, refrigerate. Return to ambient temperature before cooking.
Q: Freezer storage viable?
A: Preserve up to 3 months. Thaw completely before reheating.
Q: Addressing toughness?
A: Monitor kneading intensity and oil temperature for optimal results
Let’s Connect!
Did this Homemade Fry Bread Recipe become your new favorite? We’d love to see your results! Share your photos and tag us @Wonder.Recipes and leave a comment below with your cottage cheese recipe variations.


